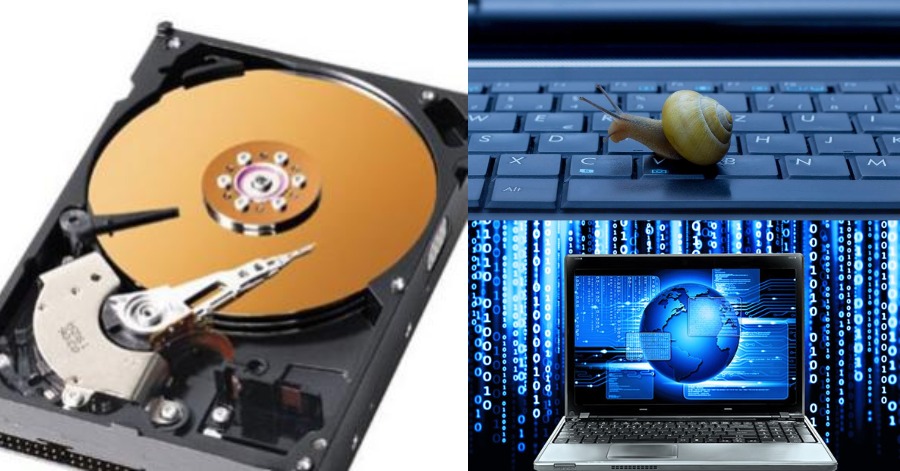
Whether it happens gradually over time or all of a sudden, trying to work with a slow computer can be seriously frustrating. Even if you’re fairly diligent with the maintenance of your laptop or PC, it’s surprising how quickly things slow down. When your computer is running slow, it may be out of the question to purchase a new computer.
Before you give up, there are various things you can check to make sure your computer is running as efficiently as possible. With some simple decluttering and a few more technical operations, even the slowest computer can return to its old self. Here are 7 simple tips you can make your computer faster.

1) Limit Startup Programmes
Many programs are designed to start automatically as soon as Windows boots. Software manufacturers often set their programs to open in the background, out of sight, so they’ll open right away when you click their icons. That’s helpful for programs you use a lot, but for programs you rarely or never use, this wastes precious memory and acts as a drag on overall system speed as well as making your machine slower to boot to the desktop. Thankfully, it’s now easier than ever to adjust what applications are allowed to run on startup. Simply head to the settings menu, click on ‘Apps’ followed by the ‘Startup’ tab. This will show you a list of every program or service that has the option of running at startup, a label showing the impact on system resources and performance, and a toggle switch to block or allow it from running on boot. Simply flip the switch on any services that you don’t want running all the time, and you should start to see an improvement in performance and boot times.
2) Remove Malware
It’s frighteningly easy to pick up malware on the modern web, whether through watering hole attacks, drive-by downloads, or malicious email attachments. Malware isn’t necessarily something that instantly renders your computer unusable though. It can often lurk on your system for years, leaking data and spying on your activities. It can also slow down your machine, and unlike startup programs, it can be difficult to identify when malware is the cause of a slowdown. Fortunately, this is a relatively easy problem to fix. A free security suite should protect your system from the majority of common threats on the web, and setting up regular recurring virus scans will help keep your system zipping along without being gummed up by malicious processes.
3) Delete Unused Programmes
The internet is full of helpful tools and utilities that can be downloaded to accomplish various tasks, from data backup to desktop customization, but these applications tend to accumulate over time. It’s easy to build up a large collection of programs on your hard drive that you don’t really use anymore, and these can often contribute to laptops feeling slower in day-to-day use. Utility programs you might have installed over the lifetime of your devices, such as virus scanners, disk cleaners, and backup tools, often run automatically at startup, quietly chugging along in the background where you can’t see them. A good rule of thumb is to regularly audit your installed applications and remove any that you no longer use regularly. If you need to download tools for specific one-off jobs then you should also uninstall these once you’re finished with them, to prevent similar situations in the future.
4) Defrag Your Hard Disk
Old mechanical hard drives can often suffer from fragmentation. This happens when the various bits that make up a complete file are scattered across the physical surface of the drive platter. Because the drive head has to travel further across the surface of the disk to read all the separate portions, this slows the machine down. Defragmentation restructures the disk so that all of the bits that make up various files are grouped in the same physical area, which hopefully increases the speed of hard drive access at the same time. Note, however, that because solid-state drives (SSDs) do not use spinning-platter disks, they are immune to fragmentation. It’s easy to check whether a physical disk needs defragging; simply head to the storage tab in Windows 10’s system settings menu, and click the option labeled ‘Optimize drives’. This will open the optimization wizard, which allows you to analyze all of your machine’s drives individually and presents you with a percentage showing how fragmented each one is. From there, you can defrag the drive, which should result in more stability and faster performance.
5) Disable Automatic Updates
Normally, we wouldn’t advise you to disable automatic software updates, as they’re the simplest way to keep your machine safe and secure from an array of cyber-attacks and compatibility issues. After all, turning off the automatic updates has the potential to cause your device to become plagued with serious security holes. On the other hand, there are some cases in which this may be considered excusable. By turning this option off and updating only when you actually want to use the software, you can ensure that these updates aren’t getting in the way when you’d rather be doing something else. We would still advise that any critical software or frequently-used services like Windows or antivirus updates are left on automatic, but if you’re really pushed for processing headroom, you can set these to download and install at a specific time when you’re unlikely to be using the device, such as late at night or at the weekend.
6) Use ReadyBoost To Increase Your Memory
ReadyBoost is a clever little feature that was introduced by Microsoft as part of Windows Vista. It essentially allows you to boost your system memory by using a flash drive as additional capacity. ReadyBoost will give a little uptick to the performance of your system, particularly if you’re using a low-powered laptop with only a couple of gigabytes of RAM. It puts aside a part of the flash drive memory for things such as caching, assisting often-used apps to open quicker, and increasing random read access speeds of the hard disk. To use ReadyBoost, first, insert a USB memory drive into an empty USB slot on the laptop you wish to speed up. A dialogue box will open asking you what you want to do with the flash drive. Choose ‘Speed up my system using Windows ReadyBoost’. Another window will open and here you can select how much of the drive you wish to give over for boosting. It’s generally a good idea to use as much of the drive as possible. Once that’s done, confirm the settings and the window will close. The drive will be automatically detected and used whenever it’s plugged in.
7) Improve Your Cooling
When your laptop has reached its maximum safe operating temperature, making its processors reduce their heat output by suppressing their performance. A lot of laptops come with built-in cooling systems such as fans or heatsinks which aim to facilitate delivering its topmost speeds before the processor’s temperature escalates too much. However, in many cases, this simply isn’t sufficient to experience the full potential of your processor’s capabilities. Fortunately, there are some options available on the market which are worth investing in, such as an external cooling pad. This device is placed underneath your laptop to cool it down by blowing cold air into its underside, keeping the internal components from overheating.
Sources: ITPro.


Leave a Comment