
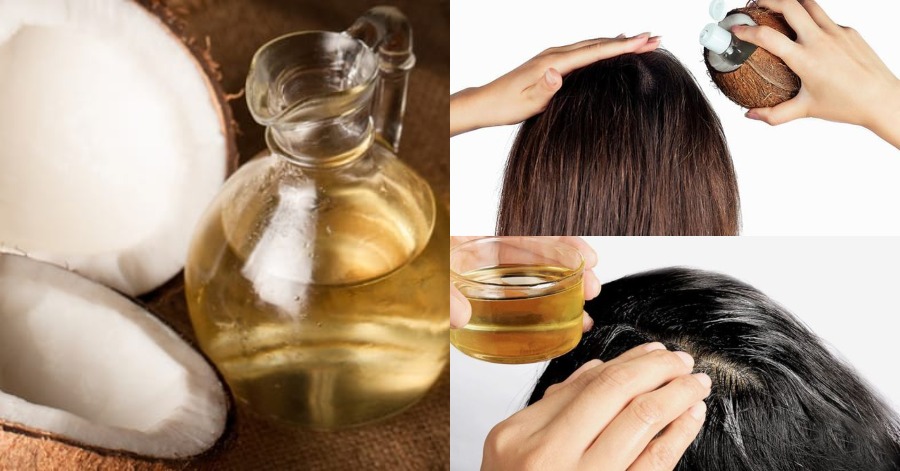
We all dream of having the ideal thick, healthy and lush hair. But just washing and conditioning your hair isn’t sufficient and looking after your hair is not that easy. With the weather, health, and other factors, we face hair conditions like brittle hair, dry hair or hair fall, which only causes us to worry more. One remedy has proven to nourish and strengthen hair and it has been used for centuries.
Between haircuts, good hair care will help you keep a healthy texture and luster. Treating yourself to a DIY hot oil treatment can give your hair that extra healthy glow—and it’s very simple! You can boost your beauty routine and make your hair look fantastic with things you already have at home.
1.Choose your oil

Choose an oil based on your hair’s needs. Coconut and sunflower oils nourish and encourage healthy hair growth, making them ideal for all hair types. Olive oil adds vitamins A and E to your hair and helps it retain moisture, making it ideal for damaged hair. These oils may usually be found in the food section of most drugstores or home goods stores.
A few drops of essential oil, such as tea tree or rosemary oil, is also recommended by specialists. Essential oils can be used to nourish and moisturize both your scalp and hair.
2. Heat up your oil
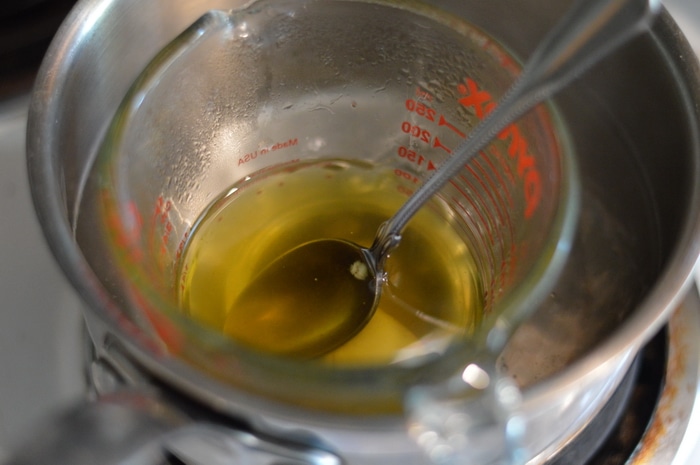
Warm oil aids in the opening of the hair cuticle. In a heat-safe bowl, pour 2 to 3 tablespoons of your preferred oil. Fill a big pot halfway with water and bring to a boil over high heat. Place the bowl of oil in the saucepan and balance it over the water to create a double boiler. Warm the oil by stirring it for 2 to 3 minutes. Avoid using the microwave to heat your oil. Oil may break down due to the strong heat from your microwave, and it may heat unevenly.
3. Section your hair

This will make it easier to work with if you have thick hair. Brush your hair out and divide it vertically down the middle, forming two equal portions on either side of your head. You can break those pieces into two if you want to make them a little smaller. To keep them out of the way, use a claw clip or a hair tie to secure all but one of the parts. Your sections don’t have to be perfectly organised. In a flash, you’ll be letting your hair down.
4. Test oil before using

Your oil will be quite hot! Dab a small amount onto your finger and place it on the inside of your wrist before massaging it on your head. Allow the oil to cool for a few minutes before using it if it’s too hot for your skin. It’s critical to conduct a patch test before utilizing your oil. You could burn your scalp if the oil is too hot. If the oil does not burn your wrist, you can begin applying it to your hair.
5. Massage oil onto roots and all the way down
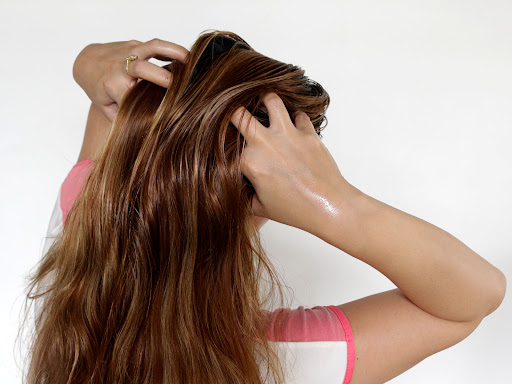
Begin at the top of your head and work your way to the bottom. Scoop a small amount of oil using your fingers. Bring it up to your scalp and rub it into your strands carefully. Lift parts of your hair up to expose the roots, and try to cover all of your roots in that section. Let your hair down and do the opposite side when you’ve finished one half of your hair. If you have any scalp dryness or dandruff, rubbing heated oil into your roots will be really beneficial. More oil should be applied to the mid-shaft of your hair, then dragged down to the ends with your fingertips. Continue in this manner until you’ve covered your entire head in oil.
6. Cover your head
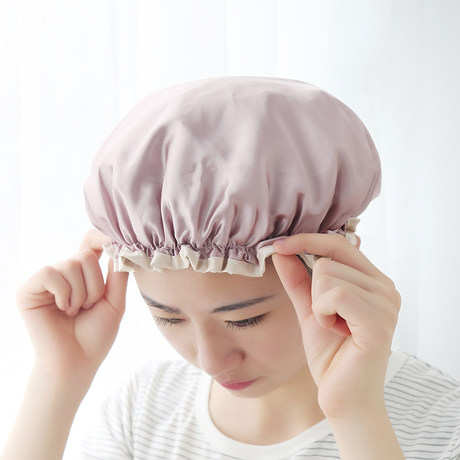
So that you don’t get oil all over your house, protect your hair. To keep your hair contained while you wait, use a shower cap or a plastic bag. Allow at least 30 minutes for the oil to sink in and moisturise and restore your hair. You could even leave the oil in your hair overnight if you wanted to. Wrap your hair in a heated towel for 20 to 30 minutes as the oil rests in your hair for added moisture.
7. Rinse your hair
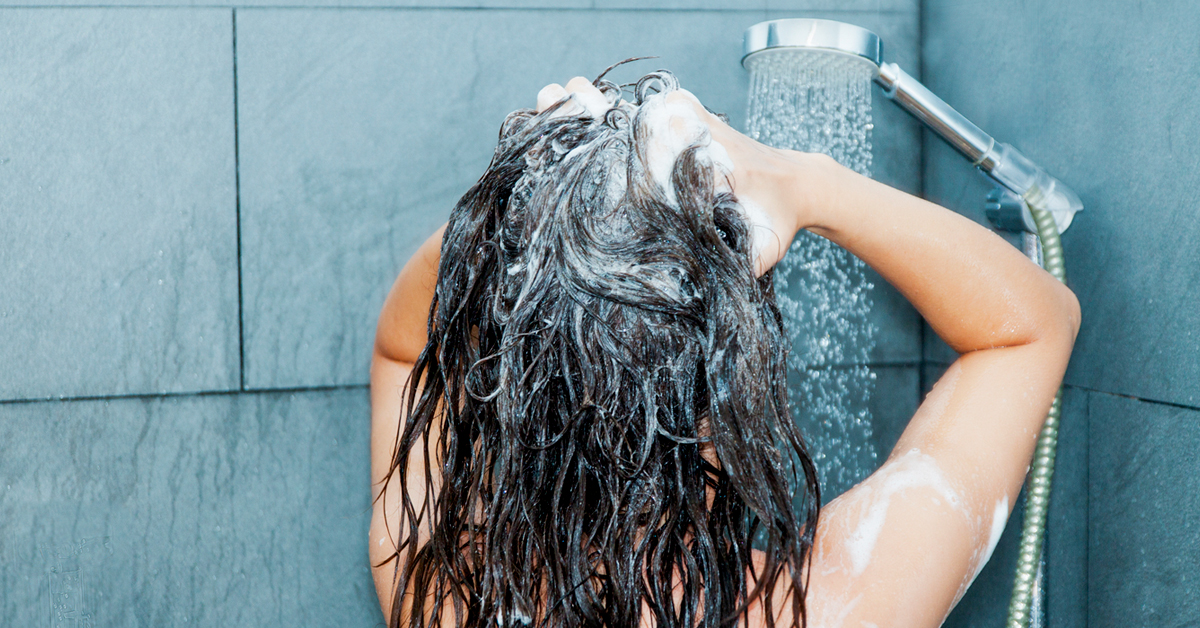
Water is unlikely to be sufficient to remove the oil. When your hair has had enough time to sit, hop in the shower and lather up some shampoo. After the oil has been removed, use a conditioner to your hair to make it lustrous, soft, and healthy. If your hair still feels greasy from the oil, don’t worry. If this happens, you can shampoo it again to remove all of the oil.
Easy isn’t it. You can do this oil treatment once every week especially if you have curly, bleached or damaged hair as this home treatment makes your hair healthier. Avoid doing it multiple times in a week because too much oil on your scalp can, later on, cause hair loss issues.
Sources:WikiHow, Healthline


Leave a Comment