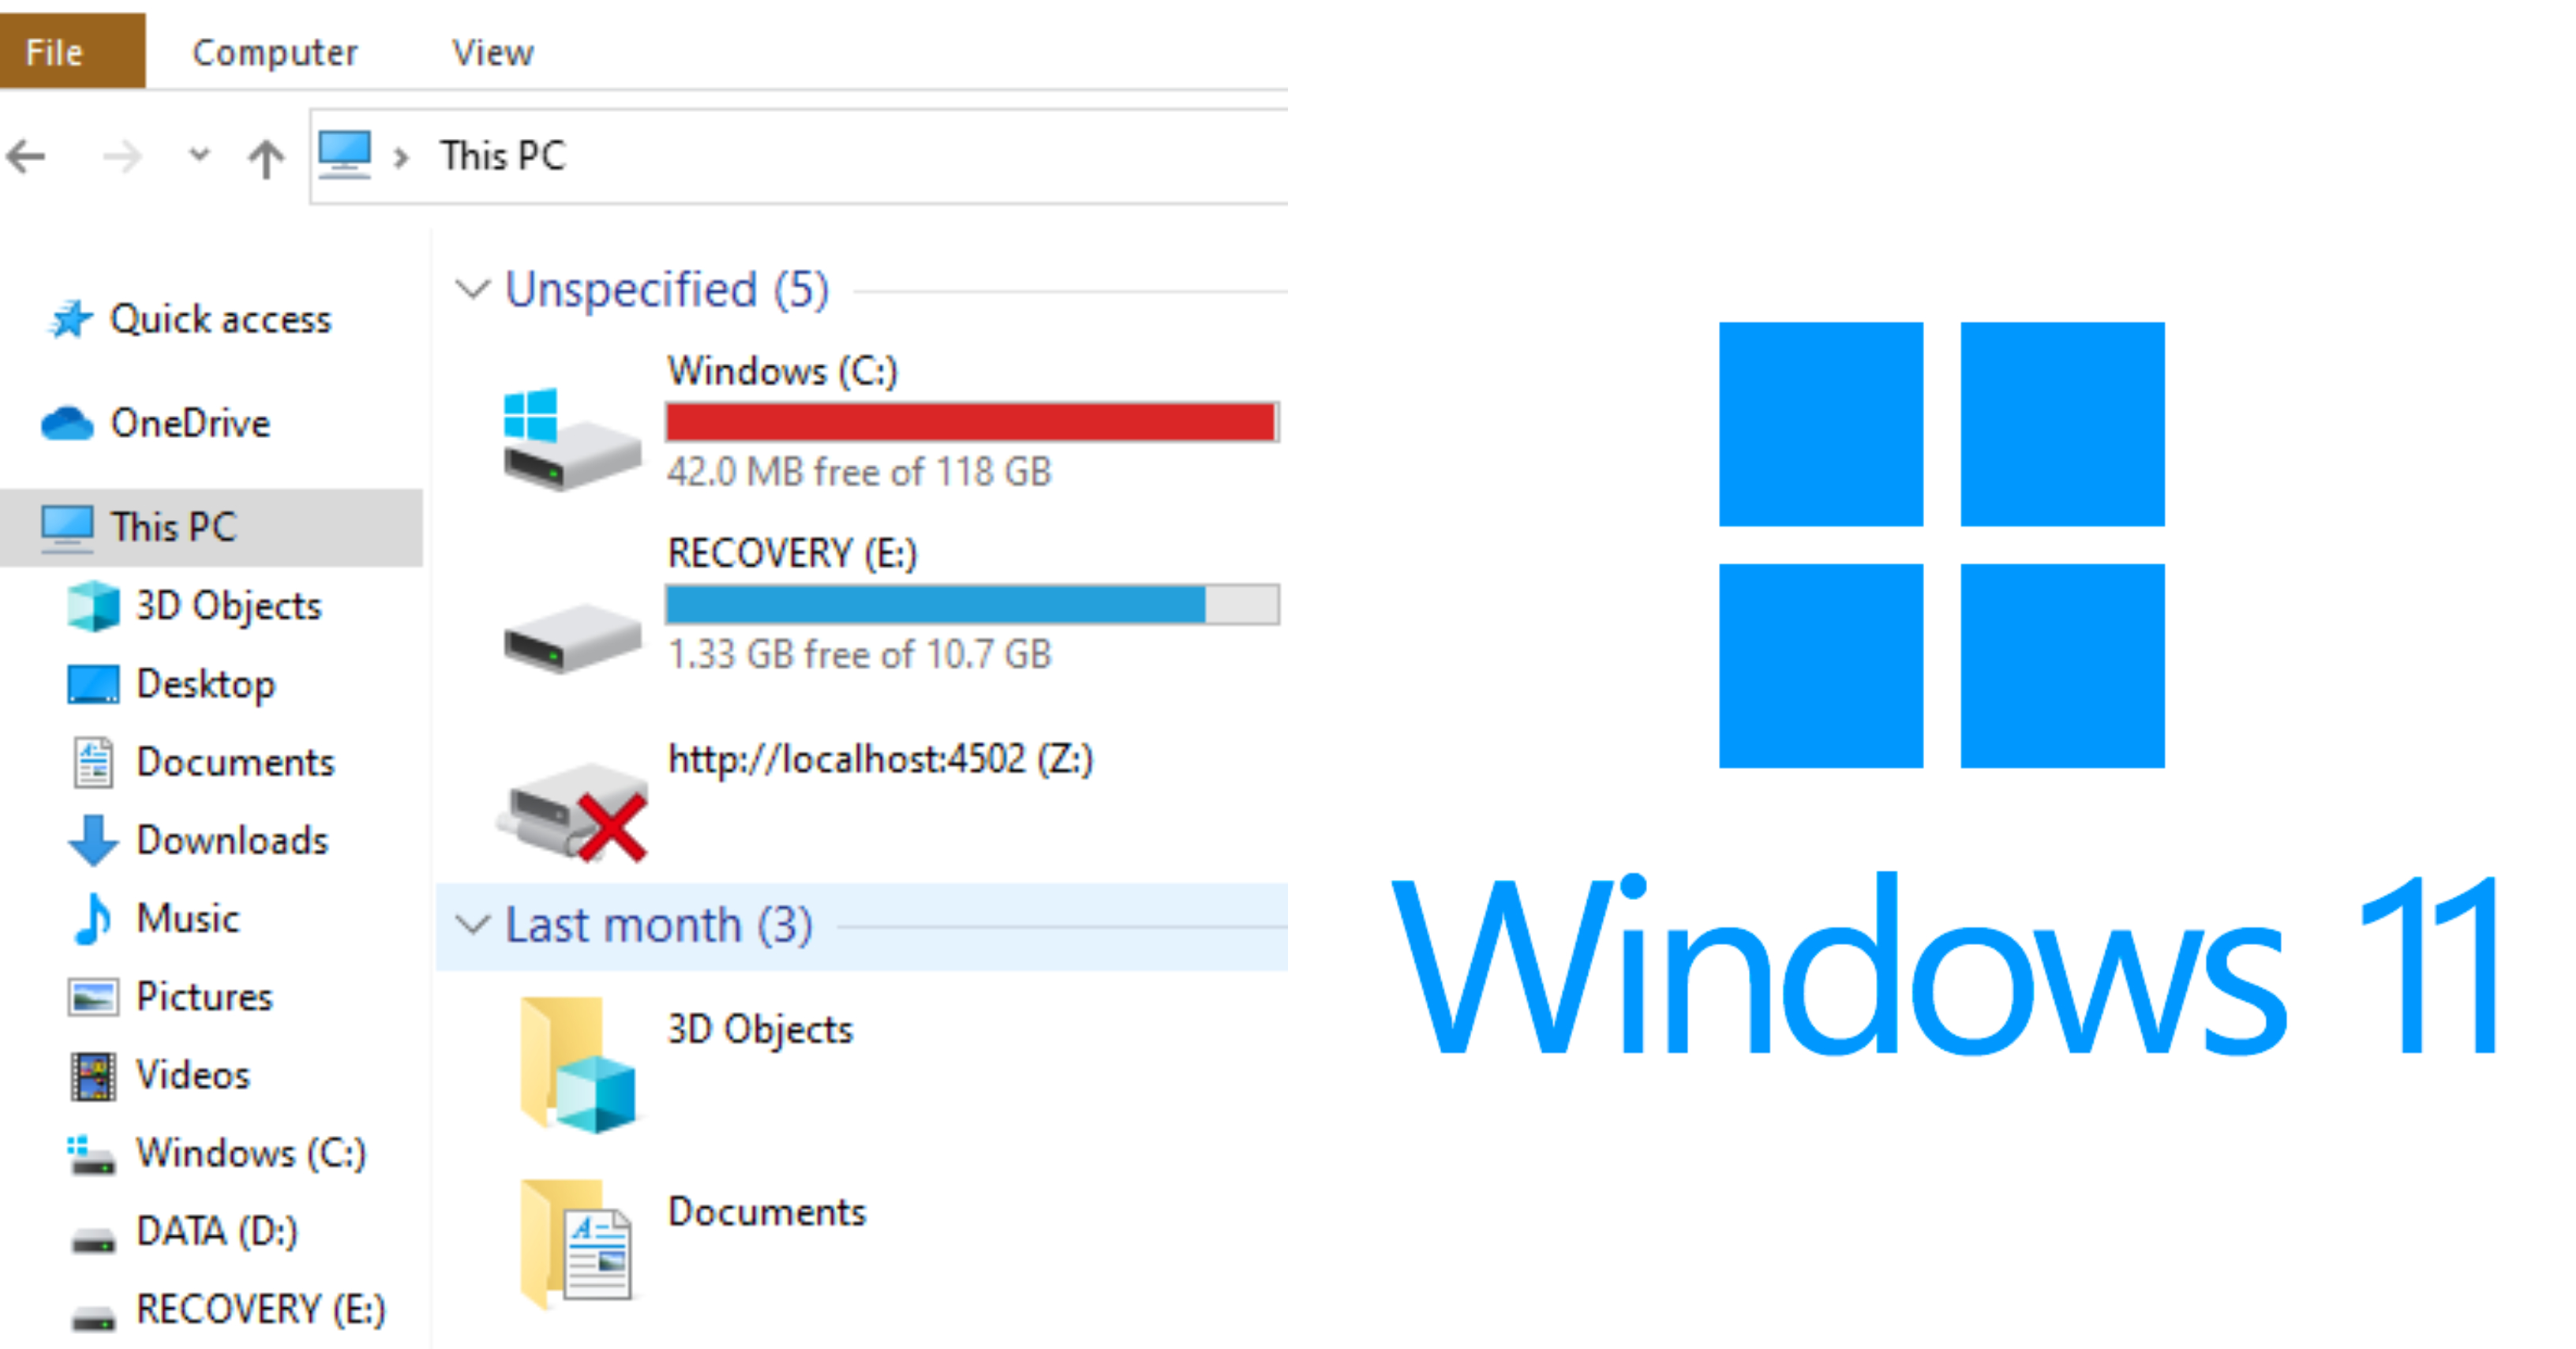
C drive or local disk C is the primary hard disk partition that generally contains the Windows control system, system files, and related applications.
In the Windows control system, “C:\” represents the C drive, and the backslash represents the drive’s directory path.
You don’t need third-party software for these steps to accomplish the process. It’s wholly come without any charges and hassle-free.
Steps To Clean Your C Drive in Windows 11
Step 1 – Cleaning
This step is to delete the automatically created file or program temporarily. The system uses it to store data while running programs or creating permanent files. However, once you close the program, it serves no purpose other than wasting storage.
- Go to the ‘Start’ button and right-click on it.
- From the ‘Menu,’ choose ‘Run,’ which later will open a box (you can also use the keyboard shortcut Windows Key + R to launch your box directly).
- Type in ‘temp’ and click on ‘OK.’
- The folder of ‘temp’ will be open (it might ask you to grant administrative privileges to access the folder. Thus, click ‘OK,’ and Windows will reveal the folder).
- Select all junk files and hit the shift + delete keys on the keyboard (you can also right-click and choose delete). Note: it may refuse to delete some junk files inside the ‘temp’ folder because some programs are using it. Thus, click the ‘do this for all current items and then the ‘Skip’ key).
- Open the ‘Run’ box and type in ‘%temp%.’
- Do the same things as the steps for the ‘temp’ box.
Step 2 – Recycle Bin
Most of your deleted files and folders will go to Recycle Bin. They will take up your storage if you do not permanently delete them. So make sure to clean your Recycle Bin. You can always hit the Shift + Delete keys to delete your unwanted files and folders permanently.
Step 3 – Uninstall
Uninstall unwanted files and rarely-used software /programs.
- Go to the ‘Start’ menu.
- Type ‘Add or remove programs.’
- Scroll for any rarely-used or suspicious program.
- Once you find one, click on three dots on the side of the chosen app.
- Then, click ‘Uninstall.’
- The system may ask your permission to continue the action, so click ‘Yes.’ If it’s an app you’ve installed from the Microsoft Store, it will get uninstalled. But if you install an app outside Microsoft Store, it will usually run on its uninstallation wizard. Hence, follow the manual on-screen.
Step 4 – Optimization
This step is for those still using an HDD on a personal computer. If you use SSD as a boot drive, you can skip this step altogether because it won’t benefit you anyway.
- Go to the ‘Start’ menu.
- Search ‘Defragment and Optimization drives.’
- Click on the result, and you will get to this window.
- Select your C Drive (C:) from here.
- Once you start clicking on the selected file, click optimize, and it will get your C Drive to optimize (it may take a long time to defragment and optimize a regular hard drive depending on how much data is in your system).
Step 5 – Disc Cleanup
This step will ensure unwanted files are cleaned from C Drive.
- Go to the ‘Start’ menu.
- Search ‘Disk Cleanup’ from the result, which will bring you to this small window.
- Disk Cleanup will appear, and select everything (unless you want to avoid a specific folder).
- Once you have finished the selection, click on ‘Clean up your system file.’
- Do the same steps twice and click ‘OK’ on the command ‘Are you sure you want to delete these files permanently.’
Step 6 – Storage Sense
These are the final steps to help clean your C Drive and keep it clean. It will not clean everything automatically, but cleaning some unwanted junk may help you in the long run.
- Go to the ‘Start’ menu.
- Click on the ‘Settings.’
- Click on the system menu, and it will navigate to the storage setting.
- Right here, you’ll find the ‘Storage Sense’ option and click on it.’
You are encouraged to do these cleaning steps once in a while to keep your Windows 11 clean. It will benefit you when you decide to multitask in the future.
Sources: Geeks Tutorial, Techopedia